Title here
Summary here
Before you start, you need three things: a GB-Link adapter, a working Game Boy setup, and a browser on a computer or phone.
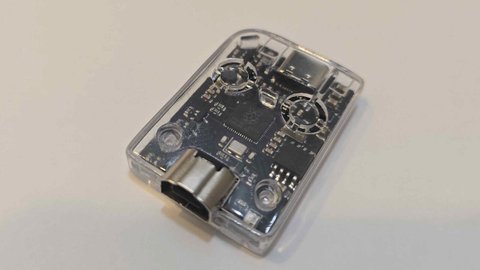
An RP2040-based USB adapter that sits between your console and your host device. Any generation runs the same firmware and works with launcher.gblink.io.
Pick one:
| Option | Get it | Notes |
|---|---|---|
| V1 (Etsy) | Etsy listing | Pico-based; bring your own link cable |
| V2 (Crowd Supply) | Crowd Supply | Cased, USB-C, cable included |
| DIY | Pico PCB · Pico Zero PCB | Solder your own; bring your own cable |
Three parts plug together: console → link cable → adapter.
Console — Game Boy, Game Boy Color, or Game Boy Advance with a working link port. FPGA consoles with link support also work (Analogue Pocket, Chromatic, Game Bub). Software emulators and handhelds without a physical link port are not supported.
Link cable — Plug one end into the console’s link port and the other into the GB-Link adapter. V2 ships with a generic cable; V1 and DIY need your own.
GBA cable orientation: GBA link cables have two ends — slim (master) and wide (slave). The slim end goes on the GB-Link adapter; the wide end goes on your Game Boy Advance. Getting this backwards breaks GBA modes.
GBA cable quality: Cheap third-party cables often lack a proper ground and cause flaky connections. Use a quality cable or the one included with V2.
Game cartridge — Each web client needs the right cart in the console (e.g. Pokémon Ruby for Gen 3, Tetris for online battles). See Games & Tools for the full list.
Plug the adapter into a desktop, laptop, or Android phone over USB. V2 uses USB-C; V1 and DIY use the Pico’s port (usually Micro-USB). No separate power supply — the adapter is bus-powered.
Open launcher.gblink.io in a supported browser. No drivers or apps to install.
| Platform | Browser |
|---|---|
| Desktop | Chrome or Firefox |
| Android | Chrome |
./scripts/setup-permissions.sh from the
firmware repo once for USB access without sudoOnce you have all three, follow the Quick Start guide.